Beautiful images and graphics are the foundation of a great website, but audiences can be turned off by low-quality photography or a page that takes too long to load.
Here’s a guide to selecting and saving images for your website so they look their best.
Understanding Screen Size
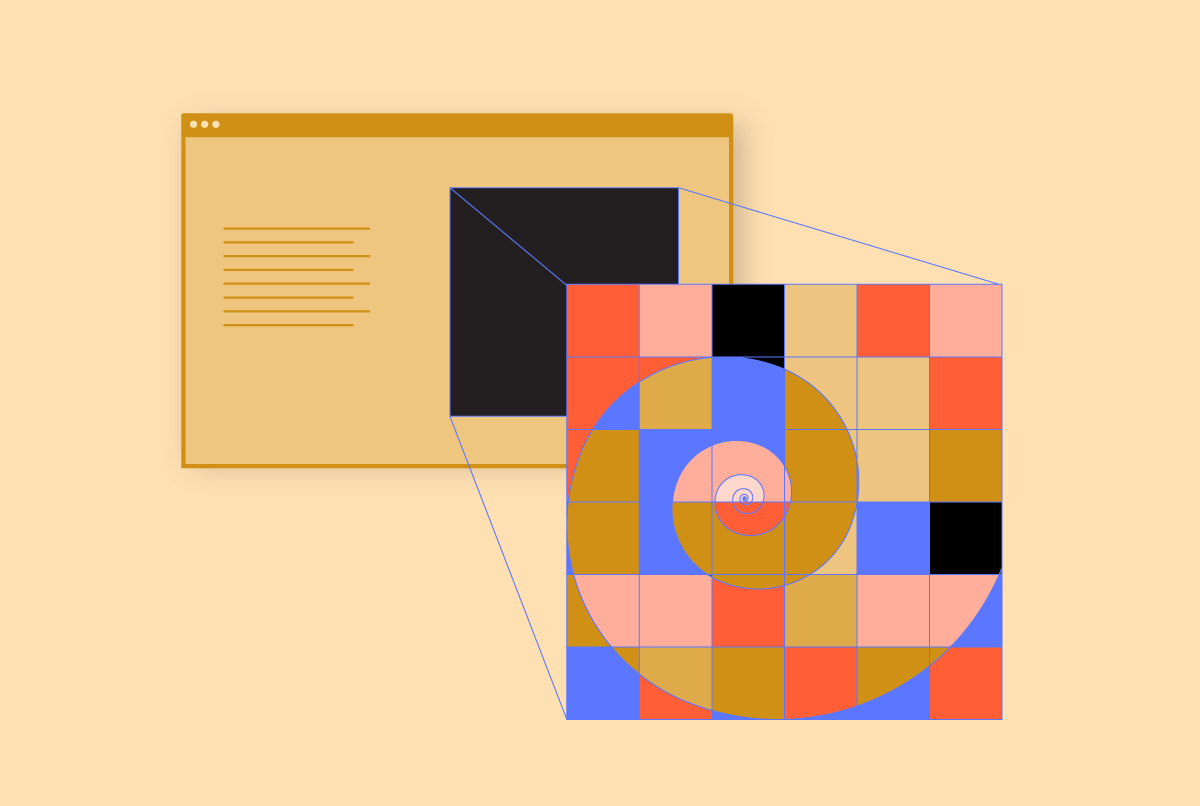
When saving images to be viewed on screen, the unit of measure to pay attention to is pixels. Pixels are tiny squares of color that make up the image on your screen.
The number of pixels on a screen depends on the device being used and its resolution settings. Below are some common screen sizes in pixels for different devices.
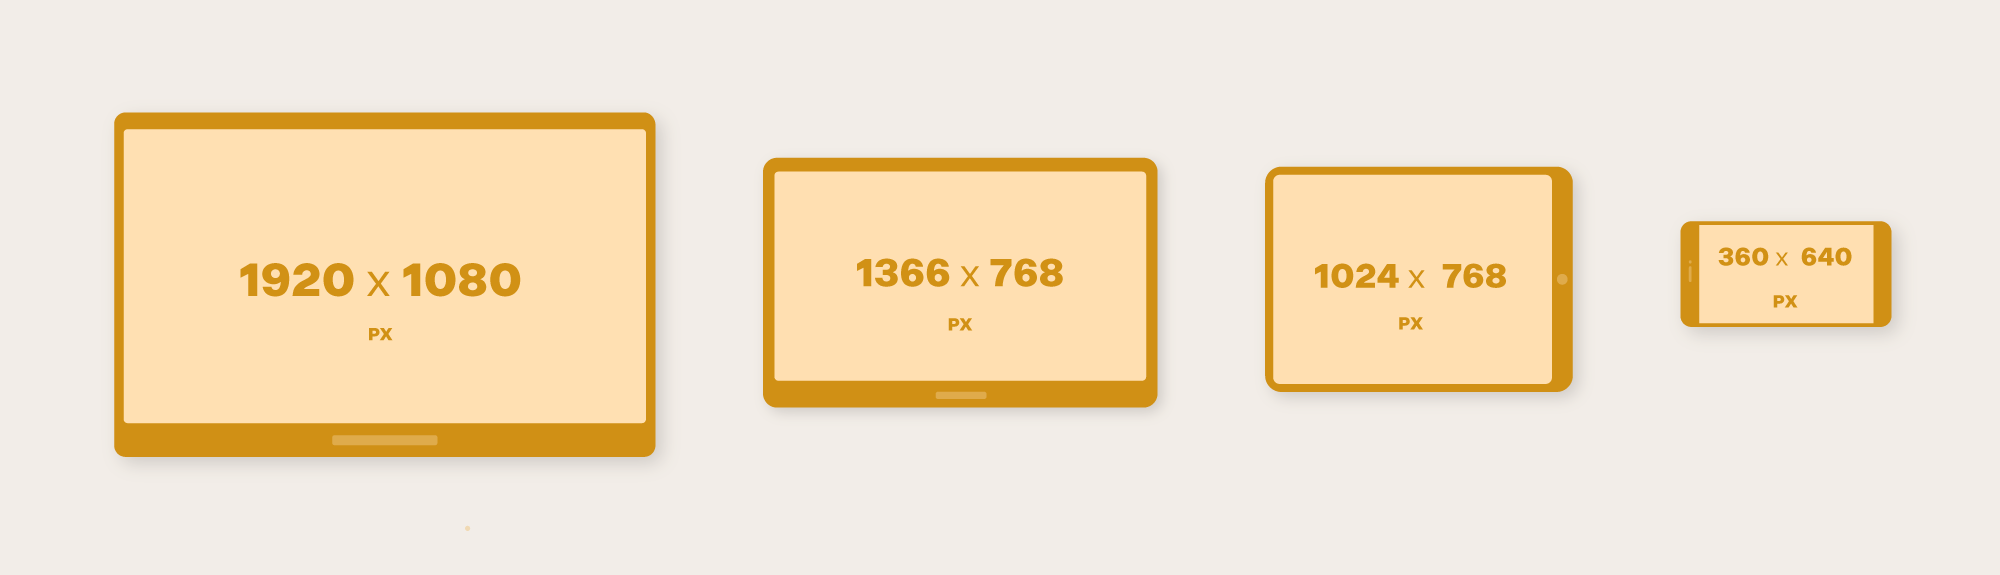

Your audience may be using many different devices or resizing their browsers so there will always be some variation in screen size and proportion.
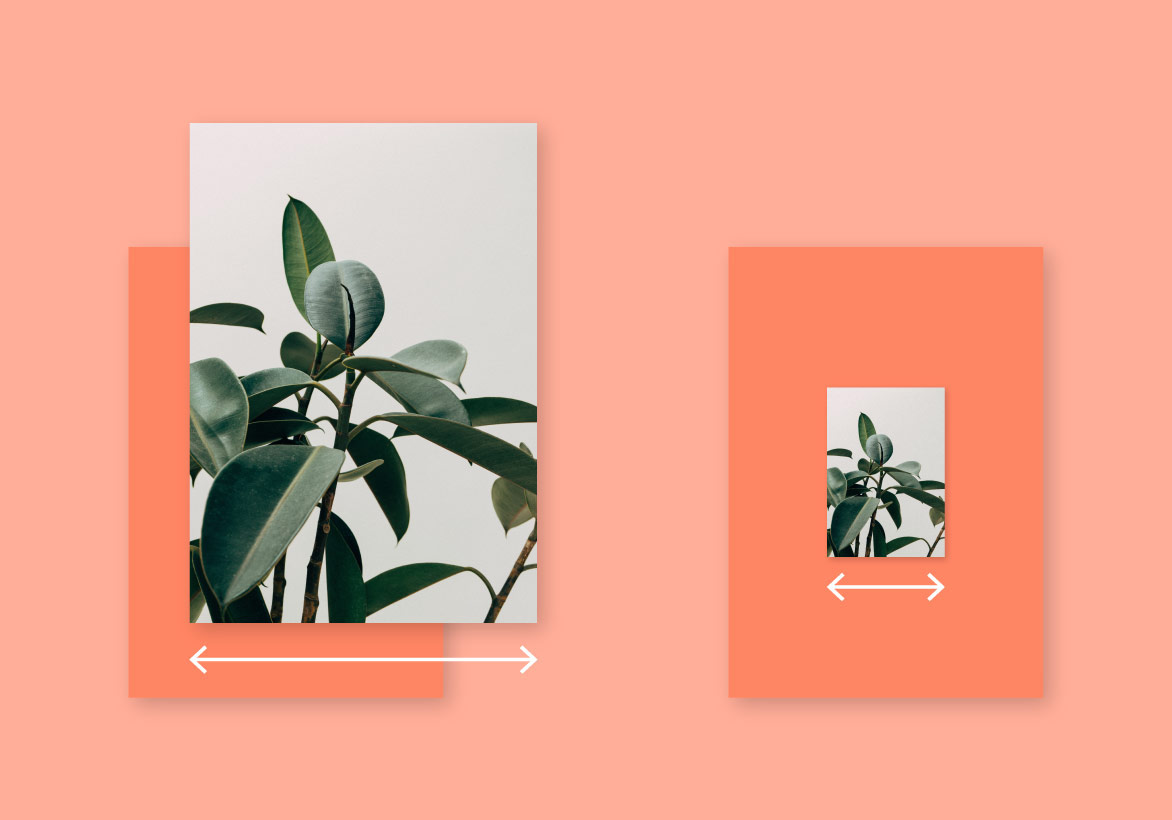
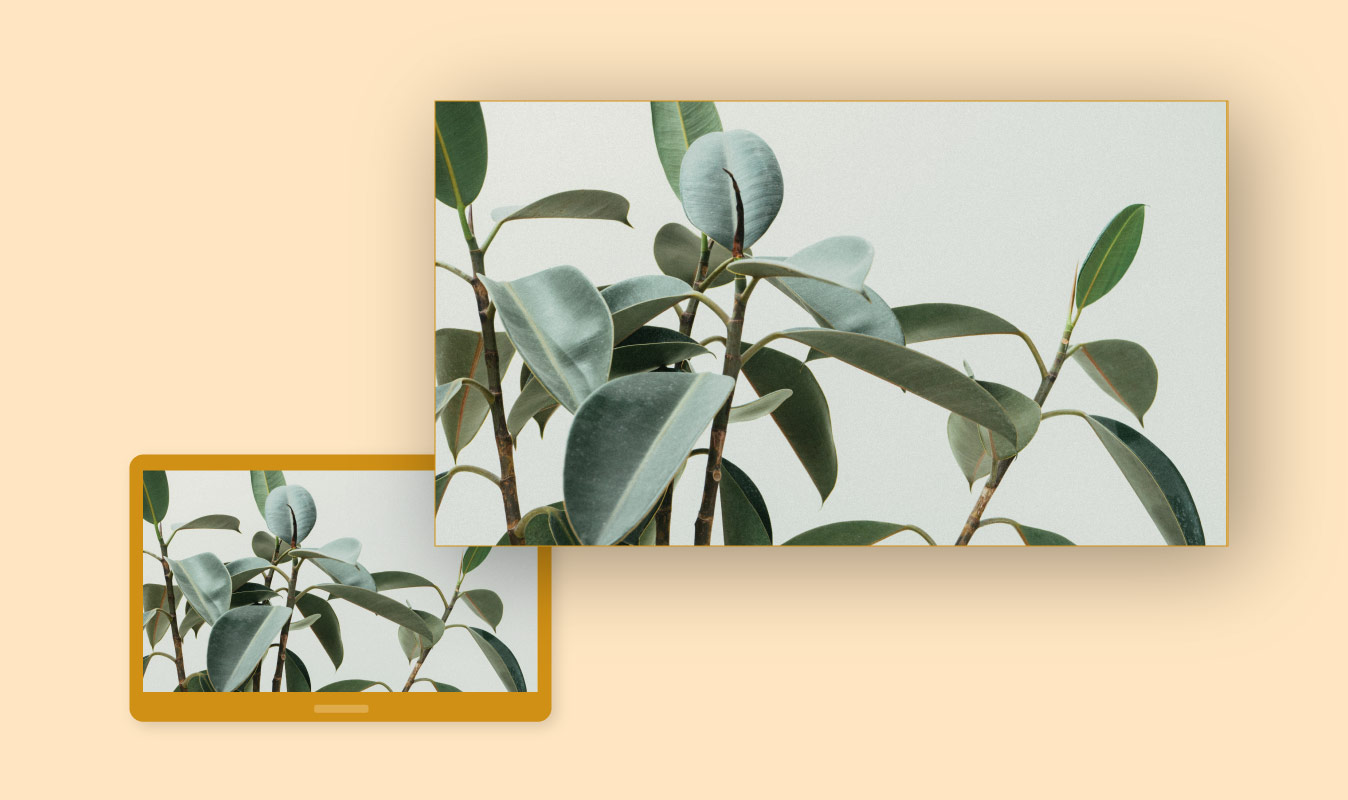
For an image to fill the whole screen and appear sharp, it must be at least the same size in pixels as that screen’s resolution. To improve the sharpness, images could be saved at a larger size than the screen, but if they are too large they will take up unnecessary server space and may make your page load slowly.
A good rule of thumb is to save images at no more than twice the size of the average screen they might be viewed on. Usually, a good size is between 2000 and 3000 pixels at the widest dimension for large images or 1000 to 1500 pixels for smaller images.
Size isn’t everything
Lighting, composition, and retouching make the difference in a photograph’s impact.
We can recommend professional photographers that would be a good fit for your project, but if you are taking photographs yourself try these techniques:
- Use natural light when possible
- Take images from several different angles and positions—depending how the image will be used in the layout it may be very helpful to have options
- Use the highest resolution setting possible on your camera
- Check out Adobe’s website for some helpful tips
File Types
Websites support several different types of image files, but there are two that are most common: JPEG and PNG.
- Photographs should always be saved as JPEG files.
- Graphics with flat color or transparency like logos, icons, or infographics should be saved as PNG files.
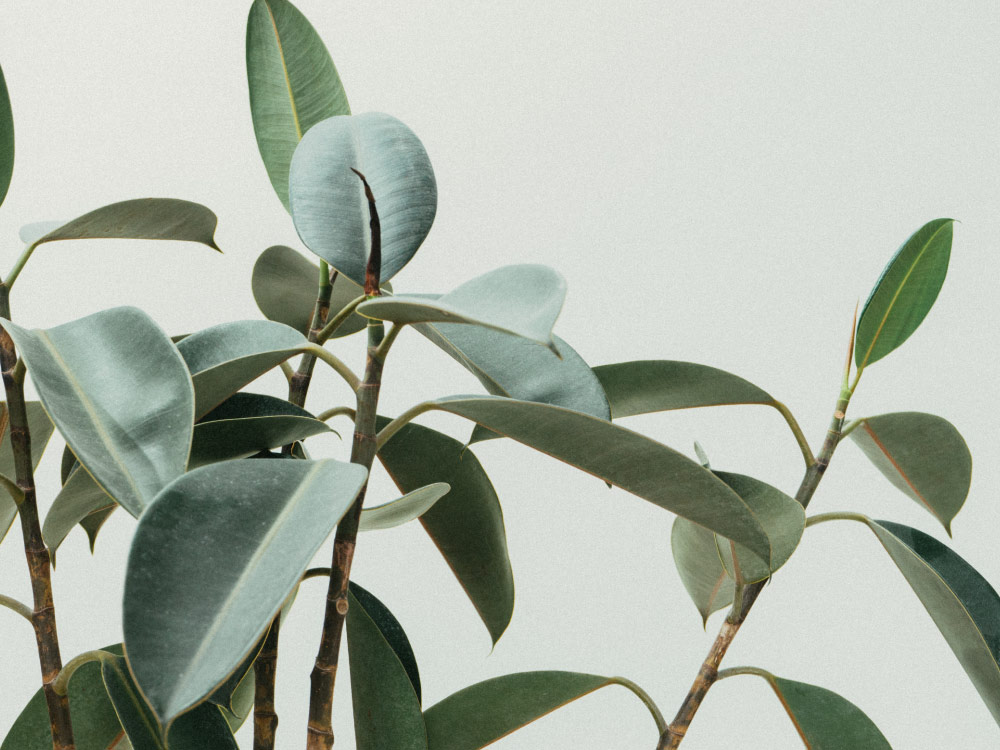
Photograph saved as a JPEG
Graphic image saved as a PNG
Saving Your Files
Images should be saved in a compressed format for web so that they load quickly while still maintaining quality and clarity.
In many cases, you may be able to upload your original image to your website’s content management system (such as WordPress) and it will automatically be compressed for you.
However, your files might be extremely large and take up unnecessary server space or you may want to have more control over fine-tuning the image crop and quality. In that case, we recommend a program such as Adobe Photoshop for resizing the files manually.
Below are instructions for saving your images in Photoshop.
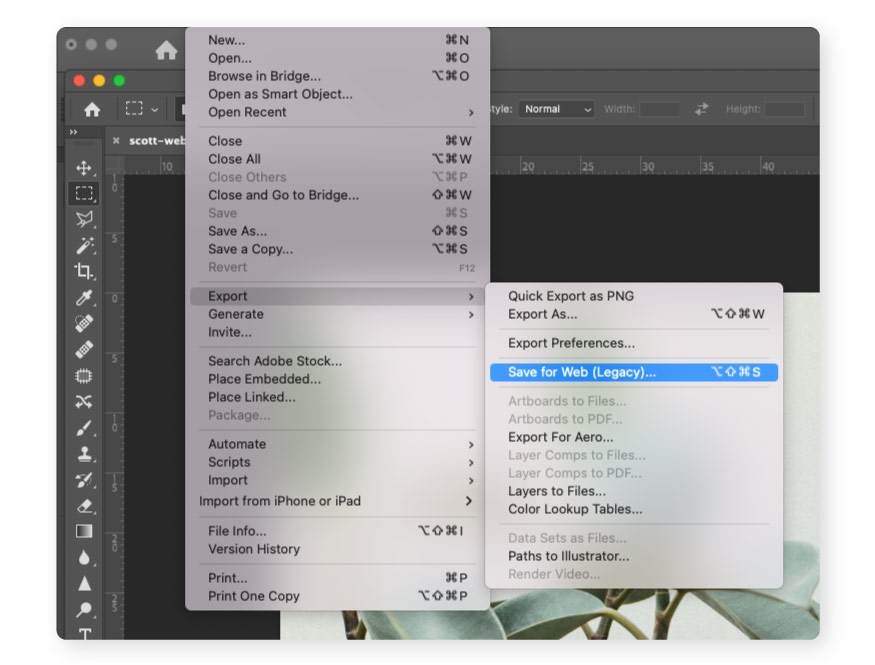
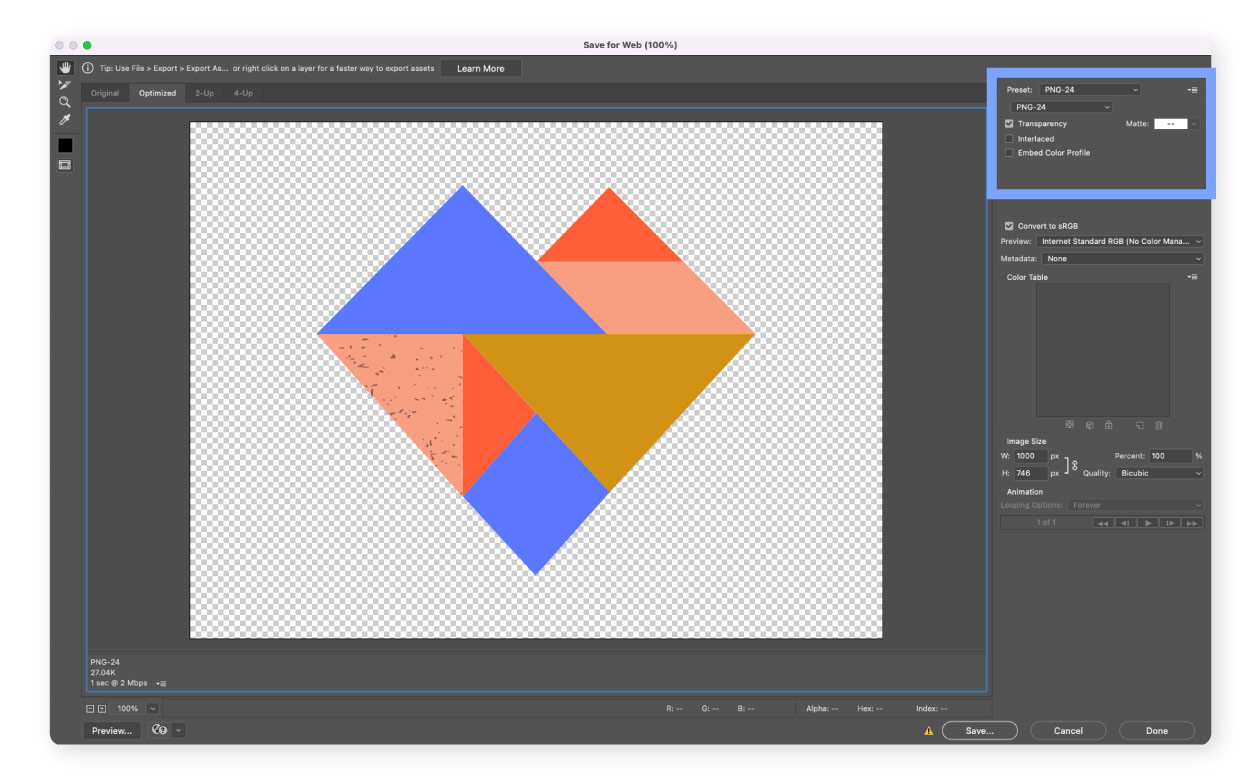
With the image open, select File > Export > Save for Web (Legacy)
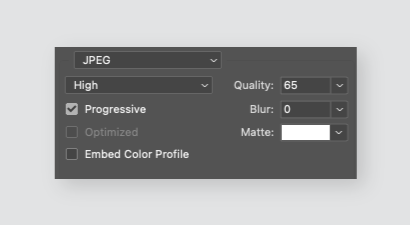
If you are saving a JPEG, choose High and set the quality level to 65.
You can experiment with different quality levels, but remember that higher numbers will increase your file size and may cause your page to load slowly.
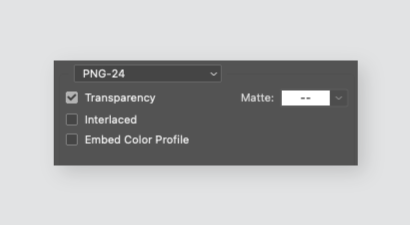
For PNG images, choose PNG-24.
Check Transparency if your image has a transparent background.
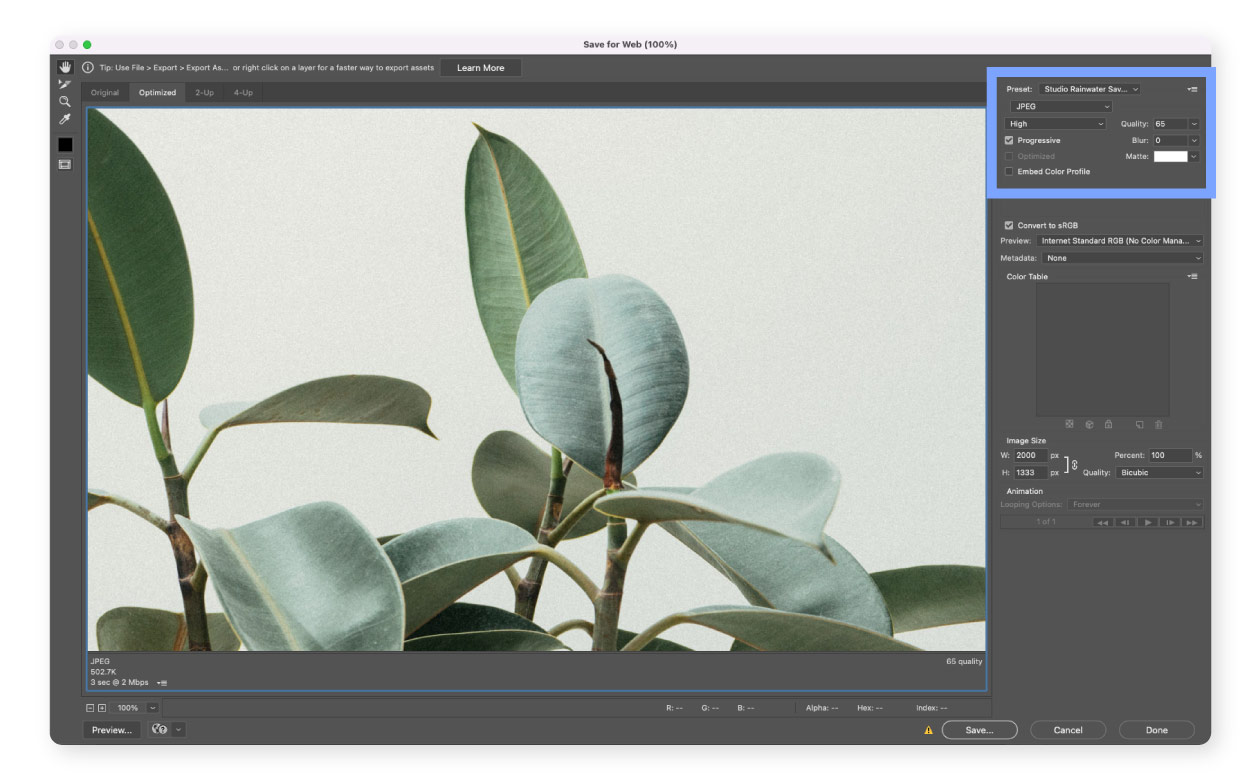
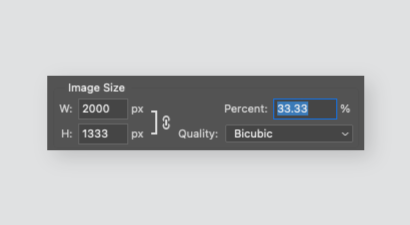
In the Image Size section, adjust the width or height.
Be sure that the dimensions are linked so the image will resize proportionally and not appear distorted.
Tip
If you are saving a lot of images, you might want to experiment with Photoshop’s automation features to batch the process.
Accessibility and Search Engine Optimization
When you upload your images to the website, you may need to include alt text that describes the image. Alt text appears in place of the image if it fails to load and is accessed by screen readers for visually impaired site users. Alt text is also indexed by search engines, so it may help users find your site.
Alt text should be written thoughtfully and not every image needs it.
Listening to long descriptions of decorative images that don’t add meaning to the page wastes your audience’s time!
There are different ways to approach alt text and you can find a comprehensive resource on WebAIM, but here are a few brief tips to keep in mind.
- Keep the text and concise and simple as possible. Extra words like “an image of” are not necessary.
- Be descriptive and specific, but don’t go overboard. If there are details you want to highlight about the image, consider writing a caption instead.
- Remember, no alt text is better than bad alt text!