Using the highest quality photographs will ensure that your finished print piece is engaging, professional, and beautiful.
Digital image sizing can be confusing. Here are a few tips to help you evaluate the quality of your images and understand how resolution works.
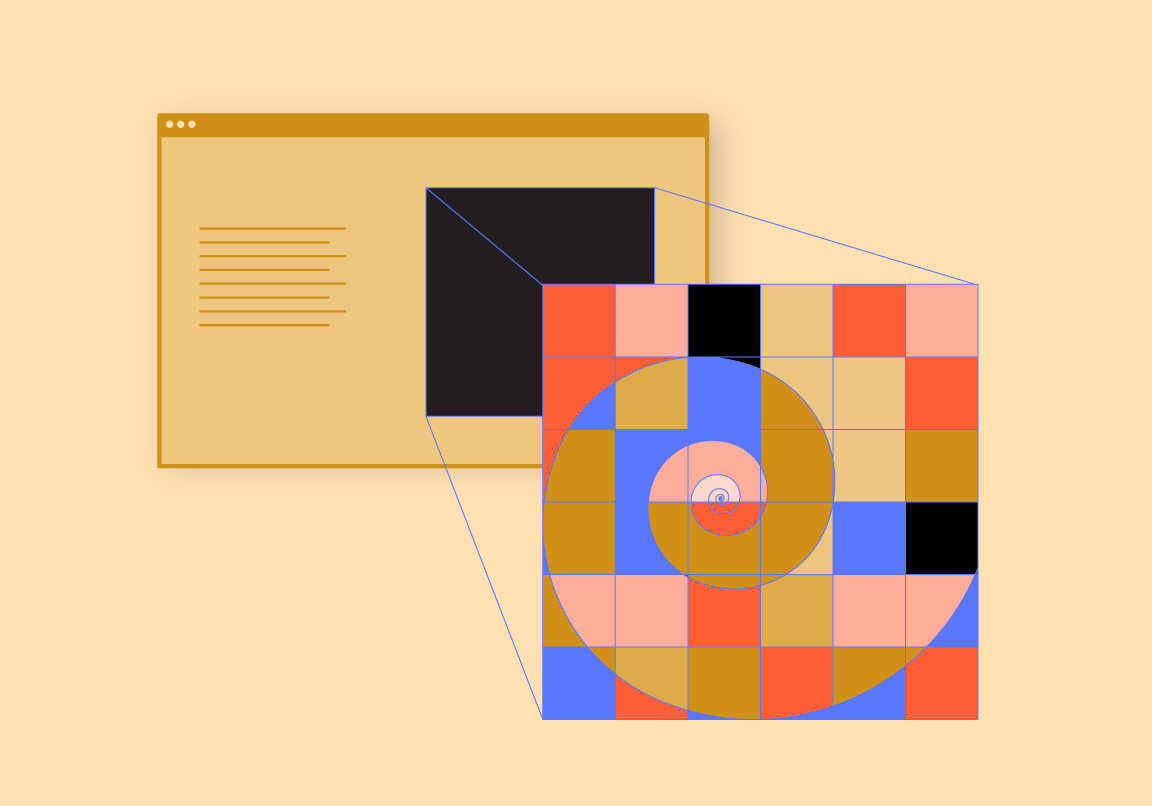
What is resolution?
Resolution is a calculation of how much information an image contains. Resolution is usually calculated in dots per inch, or dpi. An image with a higher dpi will have more dots per inch, which usually means that image has more detail and sharpness because there is more information (dots) in each inch of the image.
Here is an example showing a close of view of two images at the exact same size, but one is 300dpi and the other is 72dpi.
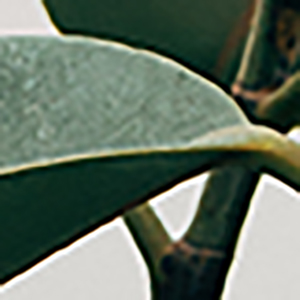
A 1-inch image at 72dpi
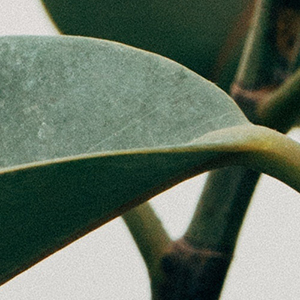
A 1-inch image at 300dpi
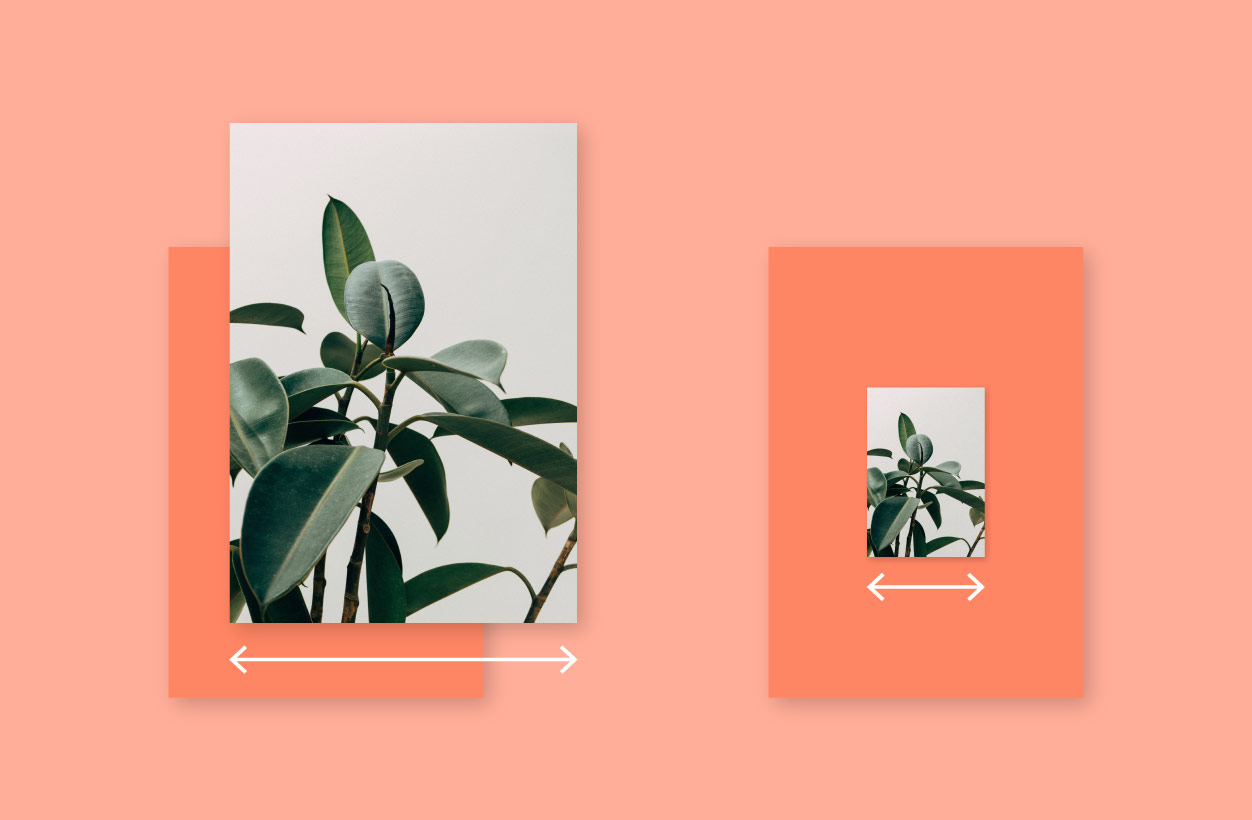
How do I know if an image is big enough to print?
Here’s where it gets a little tricky. As a general rule for printing, the best quality will be achieved if an image is at least 300 dpi at the exact dimensions that it will print. You can’t tell by looking at dpi, pixel size, or file size alone.
If we’re working together, you can just send us the files to check for you, but below are instructions for checking yourself.
1. Find the dimensions
To find the dimensions of an image in inches or centimeters, you can open it in Adobe Photoshop and click Image > Image Size. If you use another image editing program, there is probably a similar feature.
2. Find the maximum size for print
Be sure that Resample: is unchecked and change the resolution to 300dpi. The inches will adjust to show you the maximum print size.
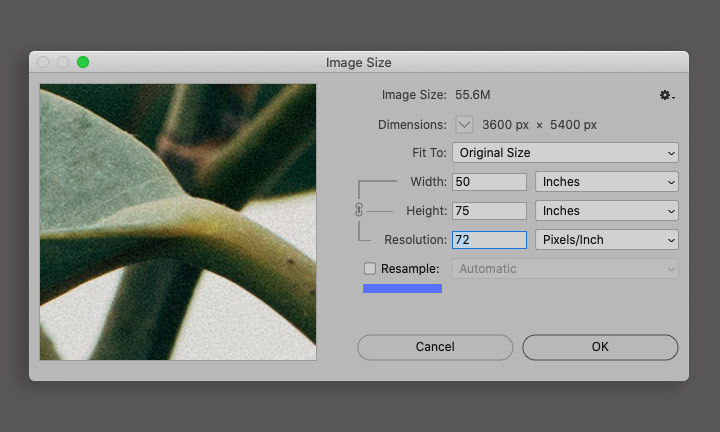
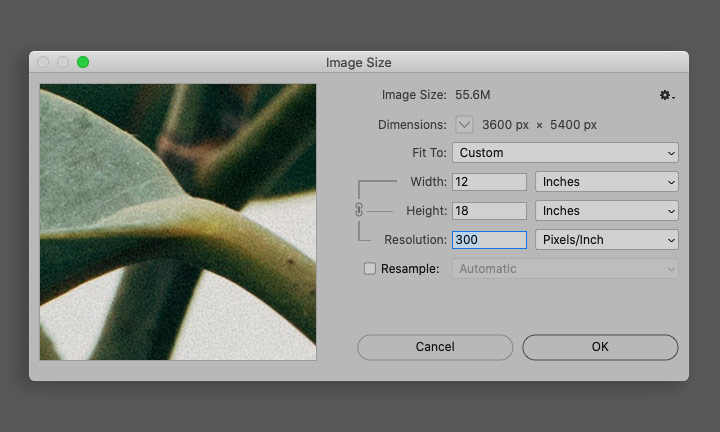
An image that is 50-inches by 75-inches at 72dpi can be resized to have a maximum print size of 12-inches by 18-inches at 300dpi.
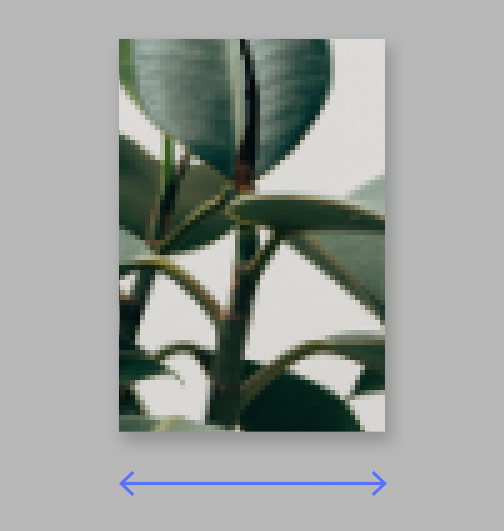
This image is sized well for print, but many 72dpi images are small and will only have a maximum print size of a few inches. That’s fine if you only need a tiny thumbnail, but it will look blurry and low quality as a full page image.
If you feel like geeking out on the math with us, here’s how to calculate changes in resolution without Photoshop.
72 is 24% of 300
If an image is 72dpi, you can multiply the width and height by .24 to see how large it can be printed at 300 dpi. For example:
72dpi
50-inch x 75-inch

300dpi
12-inch x 18-inch
An exception to the rule:
Large-format images such as signs or billboards and images printed on fabric such as banners or backdrops can usually maintain their quality at 150dpi, but always be sure to check the vendor specifications.
Resolution isn’t everything
Lighting, composition, and retouching make the difference in a photograph’s impact.
We can recommend professional photographers that would be a good fit for your project, but if you are taking photographs yourself try these techniques:
- Use natural light when possible
- Take images from several different angles and positions—depending how the image will be used in the layout it may be very helpful to have options
- Use the highest resolution setting possible on your camera
- Check out Adobe’s website for some helpful tips
If we review and identify any image quality issues early on in the process, we can strategize to be sure they don’t hold up the project timeline.